Difference between revisions of "Strut Rod Bushings"
| Line 73: | Line 73: | ||
| + | [[Image:sb008.jpg|center]] | ||
Revision as of 17:57, 18 April 2009
By Route66Rambler
The strut rod bushings were shot, like all the front rubber, from the desert, but also from a lot of use over the years. I had some nice urethane ones on my Gremlin that I had installed not long before she got crushed in the accident, so I used that set for this job. The Eagle rides about a foot taller than the Gremlin, so I figured this was a good application for urethane, to provide some anti-roll stability for wind gusts and high speed tracking on the highway, considering how short the Kammback version is. I still have a nice new set of standard rubber ones for Molly Blue's rebuild.
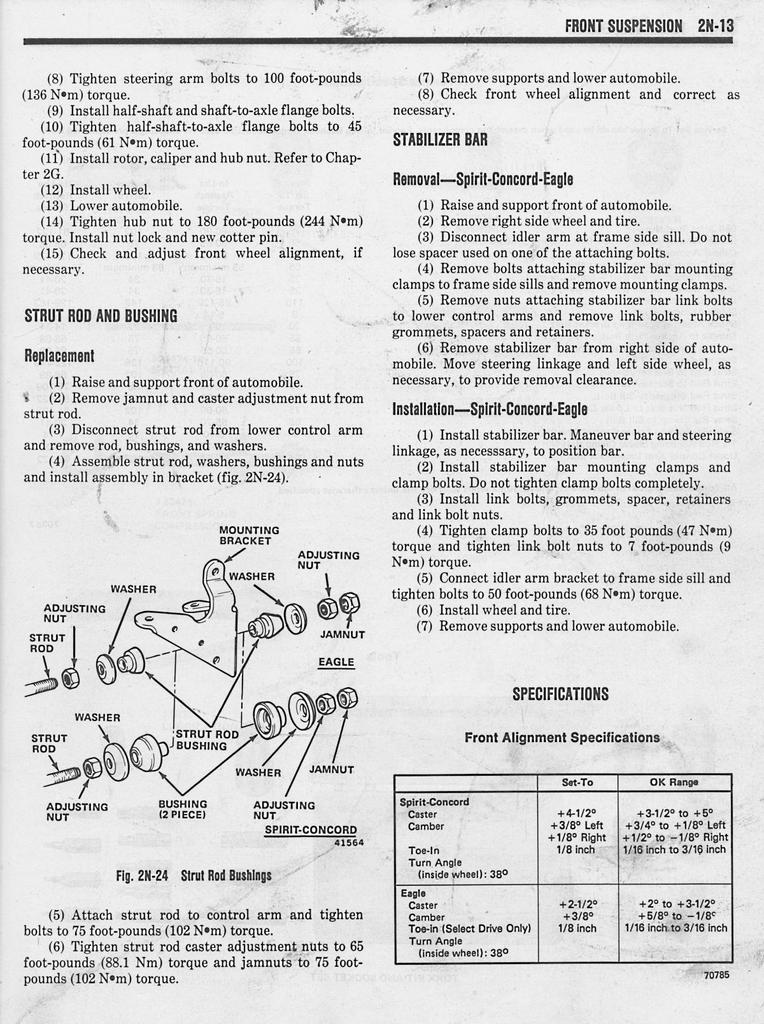
Here's the procedure page from the 1982 Technical Service Manual...
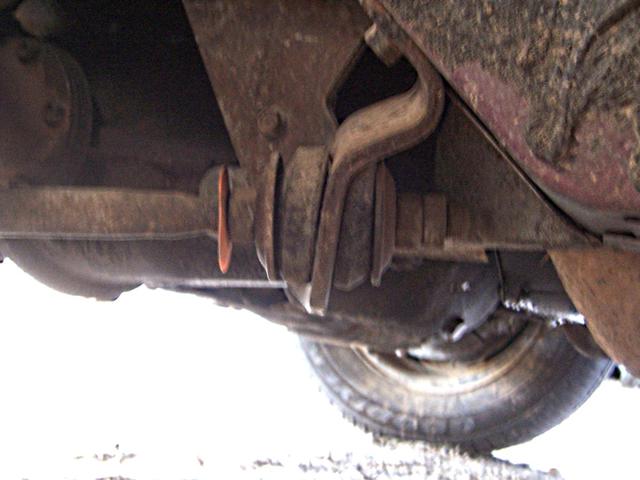
These bushings are definitely not good. If yours look like this, you will get noticeable results with this job. People say it all the time about their AMC, regardless of the model, and it is so true it can't be over emphasized. If the strut rod bushings are worn out, REPLACE THEM, and you will be so happy you did. It is quite a difference in steering, handling AND ride. Bad pics from my PDA, I couldn't find the camera at the time, the new dog was playing with it.
The TSM says to raise the car, but I have seen time and again on the various forums where somebody can't get the strut rods back into their car, and I have found with experience that it's just easier if the car is on the tires in a level spot. It won't hurt to put a jack under the control arm to move it up or down slightly for better results as you are working with them.
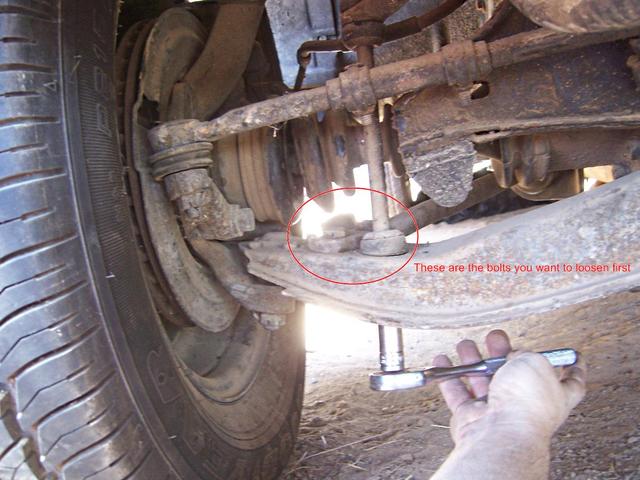
Another variation from the TSM. Loosen the jam nut at the rear of the strut rod. I use a big crescent wrench and a breaker bar. You can brace the crescent wrench on the car chassis. Then move down to the bolts on the lower control arm. Just break them loose, don't remove them yet. This picture is pulling double duty, the wrench is on the sway bar's end link bolt. You want the OTHER bolts, two in a row, where I have them circled. It's easier than you might think to undo the wrong bolt here.
Once those are undone, then you can remove the jam nut and the rear side adjuster nut at the other end of the strut rod. The reason for loosening both sets slightly, instead of fully removing one or the other set, is that sometimes there is a binding condition on either the lower control arm or at the bushings, and it's possible to slightly bend the strut rod or the bushing bracket, if you get confused and run the jam nut in the wrong direction. Don't laugh, you'll be lying on your back and it's easy to do.
It's a good idea to leave the front adjuster nut alone at this time. These will adjust caster, which is the vertical angle of the centerline through the steering knuckle. The steering will react too quickly or too slowly if this angle changes. It can be a useful high-speed handling change at the racetrack, one reason AMCs perform so well at the track when adjusted properly. Many modern cars do not have an available adjustment for caster.
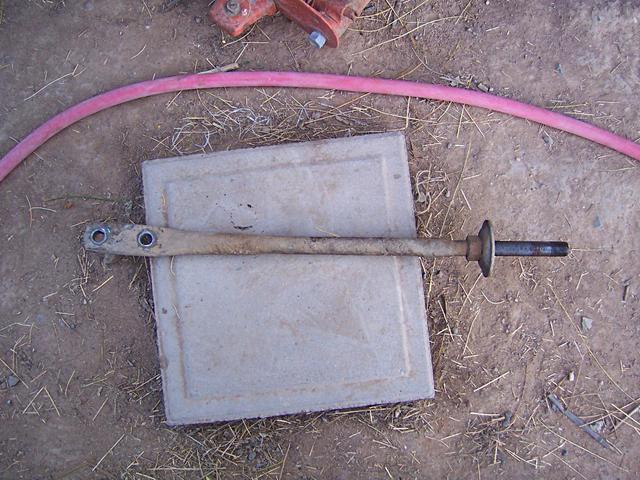
From there, finish removing the first set of bolts, and you can slide the strut rod out right over the lower control arm. At this point it's a great idea to have a look at the strut rod and inspect it for a bent condition, and to make sure the threads are in good shape. Hopefully it looks a lot like this one, except I would prefer a cleaner one.
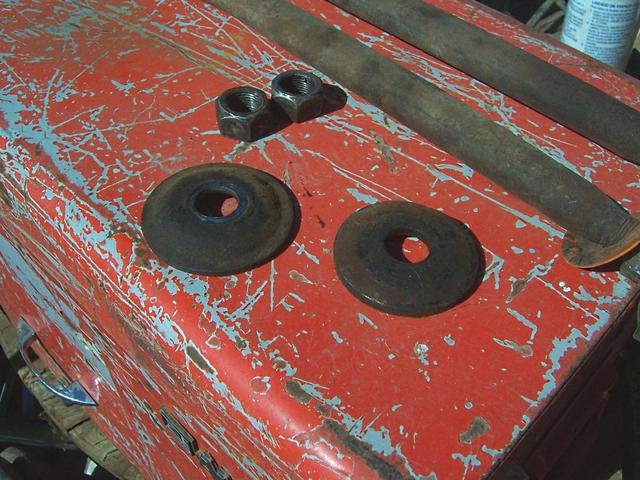
Have a look at your washers, too, and make sure they haven't had the crown crushed out of them by cranking them tighter and tighter. You don't want the nuts to have too much rounding at the corners either, obviously, because we have to tighten the adjusters to 65 lbs/ft and the jam nuts to 75.
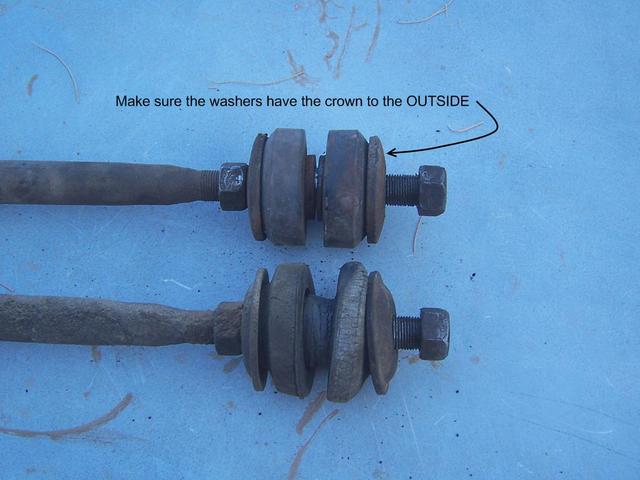
Here's a nice comparison of the completely wasted, useless old bushings next to their new urethane counterparts. You can see right away that a lot of slack in every direction will be taken up by this replacement.
Fit the strut rod through the front side bushing, then into the bracket for the rear side one. Your jack under the control arm may come in handy here, getting both bushings into the bracket, AND lining up the two bolts in the lower control arm.
As mentioned in the picture above, make sure you keep the rounded side of the washers facing to the outside. I have seen many cars with the washers domed inwards. This is a mistaken attempt to keep the bushings from "pulling through" the bracket, in a similar way that my shock tower grommets did in that previous job. The cause is the same, too much initial pressure on the bushings. Use the factory specs and proper assembly techniques to avoid over crushing the bushings, and you will extend the length of their satisfactory performance and their overall lifespan. They are always going to crush more, so don't use up a finite resource unnecessarily.
From this point, follow the TSM to assemble, without variations, except for the tires on the ground, unless you need to raise a control arm to line up your bolts. Make sure your bushings are seated fully in the bracket before you get the adjuster nut all the way tightened down.
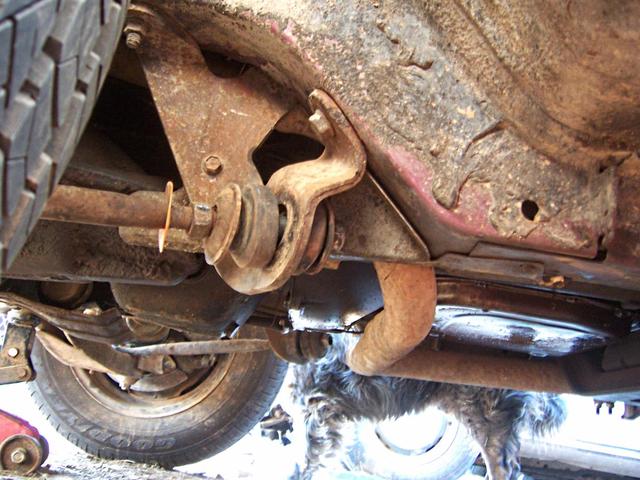
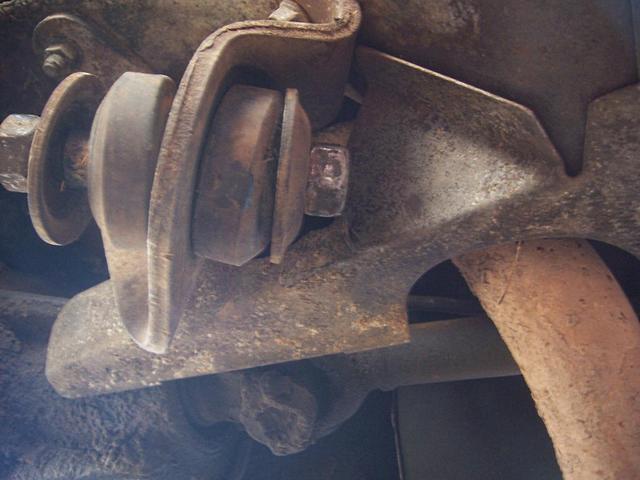
Here's your before and after, with the sad little beat up bushings, and the new hefty bushings in their place.
