Difference between revisions of "Application of decals and window stickers"
(New page: By AMC Eagle Nest Member Reaper of Souls) |
|||
| (One intermediate revision by the same user not shown) | |||
| Line 1: | Line 1: | ||
By AMC Eagle Nest Member Reaper of Souls | By AMC Eagle Nest Member Reaper of Souls | ||
| + | |||
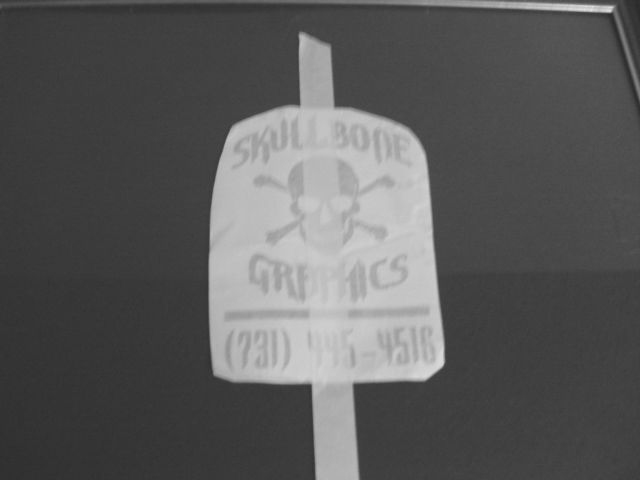
| + | 1. Start with a clean, dry area. Place decal, backing paper and all, in position on vehicle. Use a piece of masking tape across the center to hold in position. This will allow you to measure and adjust until it is exactly where you want it, and will serve as a ‘hinge’ so you can apply the decal one side at a time. | ||
| + | |||
| + | [[Image:decal01.jpg|center]] | ||
| + | |||
| + | |||
| + | |||
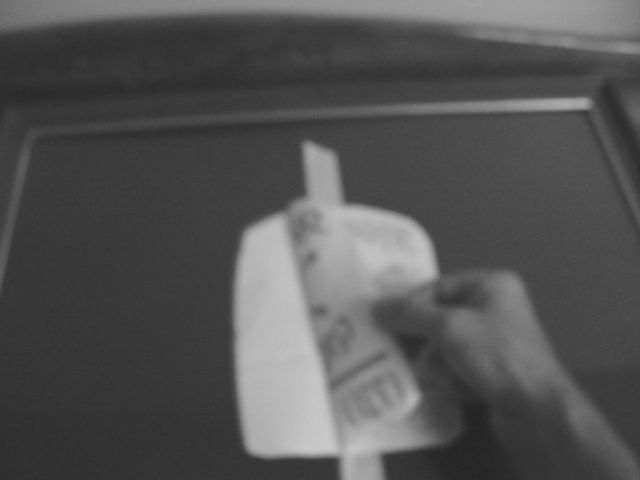
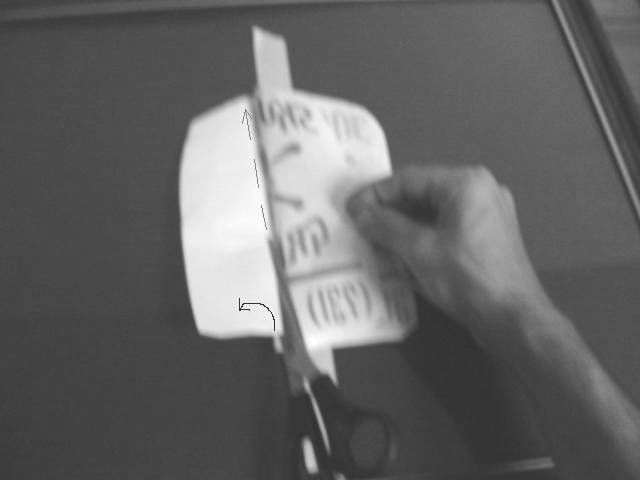
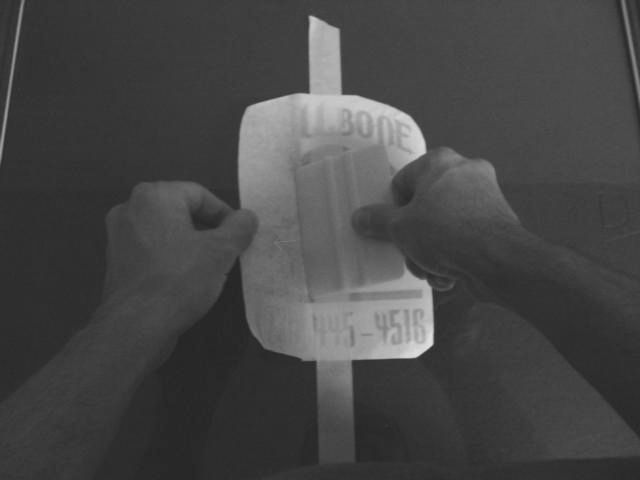
| + | 2. Peel decal away from backing paper to the tape. Cut backing paper away, and using a plastic squeegee or anything similar (old credit card, gift card will work, but not the best), smooth vinyl onto car. Working from center to edge to squeeze out all air bubbles. | ||
| + | |||
| + | |||
| + | |||
| + | [[Image:decal02.jpg|center]] | ||
| + | |||
| + | |||
| + | [[Image:decal03.jpg|center]] | ||
| + | |||
| + | |||
| + | [[Image:decal04.jpg|center]] | ||
| + | |||
| + | |||
| + | 3. Remove masking tape and repeat the other side. After all air is squeezed out, remove white application tape. If any air bubbles remain, give them a few days in the sun. The heat will usually take them out. If not, you can use a pin or needle to poke the bubbles and remove air. | ||
| + | |||
| + | |||
| + | [[Image:decal05.jpg|center]] | ||
| + | |||
| + | |||
| + | [[Image:decal06.jpg|center]] | ||
| + | |||
| + | |||
| + | [[Image:decal07.jpg|center]] | ||
| + | |||
| + | |||
| + | I hope this will be helpful to some of you out there. i know these things can be a pain to install if you aren't used to them. sorry for the quality of the pictures, but i hope they help to explain. | ||
Latest revision as of 02:53, 15 November 2009
By AMC Eagle Nest Member Reaper of Souls
1. Start with a clean, dry area. Place decal, backing paper and all, in position on vehicle. Use a piece of masking tape across the center to hold in position. This will allow you to measure and adjust until it is exactly where you want it, and will serve as a ‘hinge’ so you can apply the decal one side at a time.
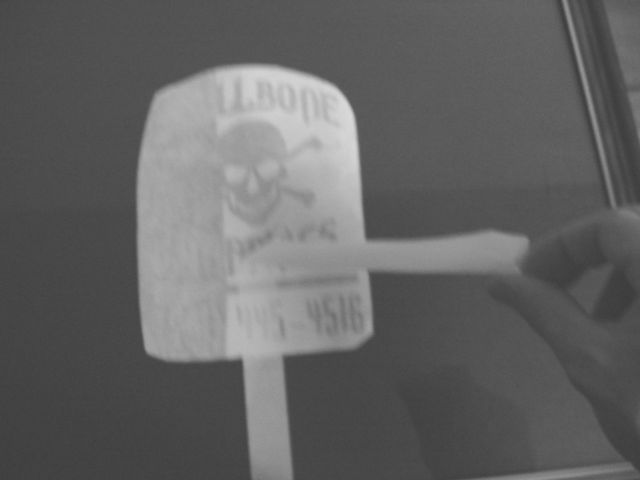
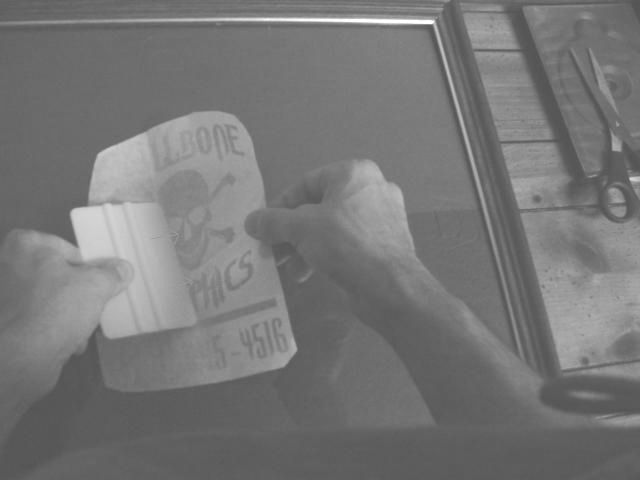
2. Peel decal away from backing paper to the tape. Cut backing paper away, and using a plastic squeegee or anything similar (old credit card, gift card will work, but not the best), smooth vinyl onto car. Working from center to edge to squeeze out all air bubbles.
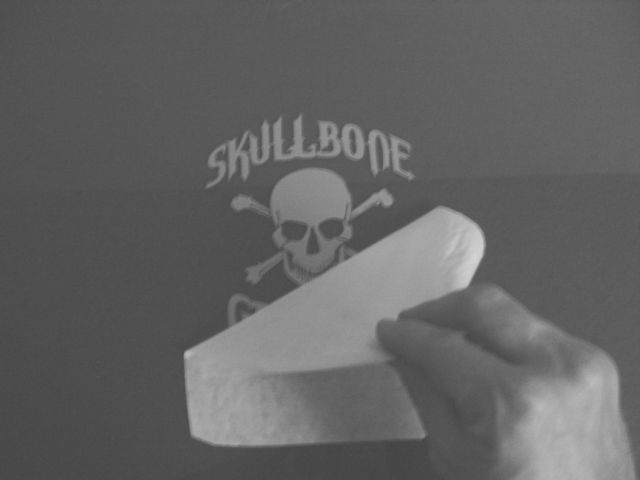
3. Remove masking tape and repeat the other side. After all air is squeezed out, remove white application tape. If any air bubbles remain, give them a few days in the sun. The heat will usually take them out. If not, you can use a pin or needle to poke the bubbles and remove air.
I hope this will be helpful to some of you out there. i know these things can be a pain to install if you aren't used to them. sorry for the quality of the pictures, but i hope they help to explain.
