Difference between revisions of "Power Seat Conversion"
(New page: By AMC Eagle Nest member tougeagle. Converting your manual seats to power (or vice versa) is not as intimidating as it seems. The Eagle floorpan already has dimples where the holes for th...) |
(No difference)
|
Latest revision as of 10:02, 27 May 2010
By AMC Eagle Nest member tougeagle.
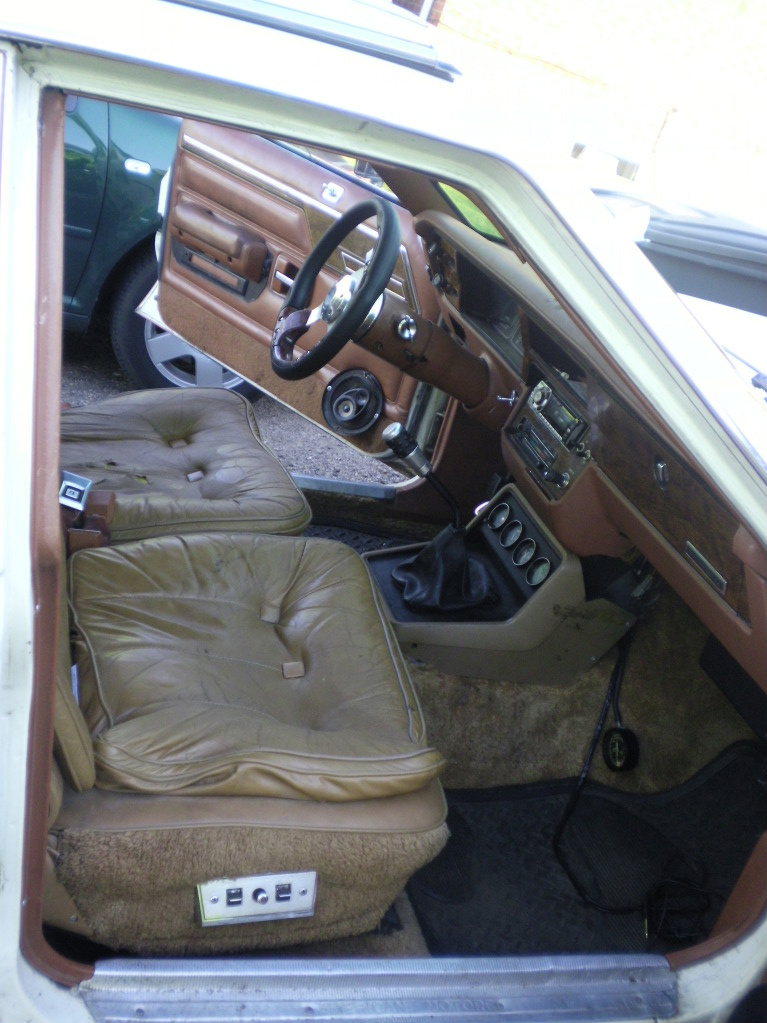
Converting your manual seats to power (or vice versa) is not as intimidating as it seems. The Eagle floorpan already has dimples where the holes for the other type of seat you wish to swap in need to be. In this case, manual to power seats. You do not need to switch the seat rails over, nor do any extra wiring. Just make sure you grab the wiring from the donor vehicle. You will have to remove the seats, then seatbelts, then carpet, in that order. You won't have to remove your back seat, though in doing so, I found the other part of my build sheet . It took me fifteen minutes to do. Just make sure you have a torx (star) head bit for the seat belt anchor bolts. Also, keep track of the bolts, the two long ones anchor to the transmission tunnel and the two short ones anchor between the doors.
I would NOT recommend this swap if your floorpan is rusted out....
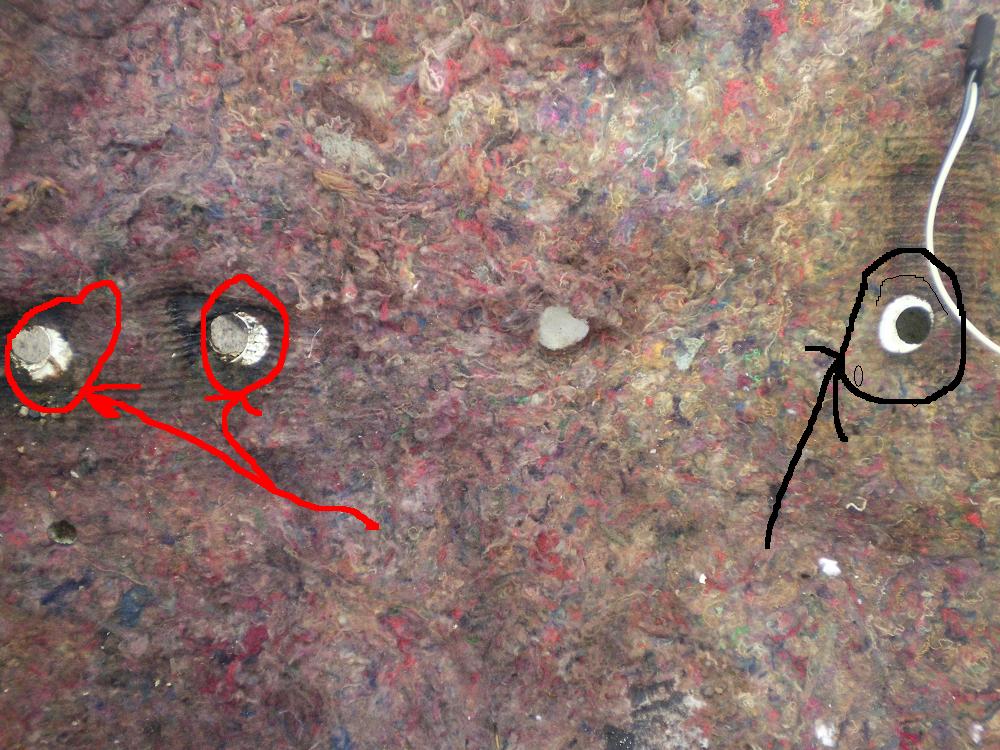
The floorpan has dimples, these align the drill bit just right so you don't have to worry about trying to do any guesswork in drilling holes. The black hole is the new hole for the seat. The far left hole circled in red is used and the one in the middle will be blocked. This is for the rearward set of holes.
The front of the power seat track is much narrower than the manual seat, and the two holes just on the either side of the shifter will no longer be used as well.
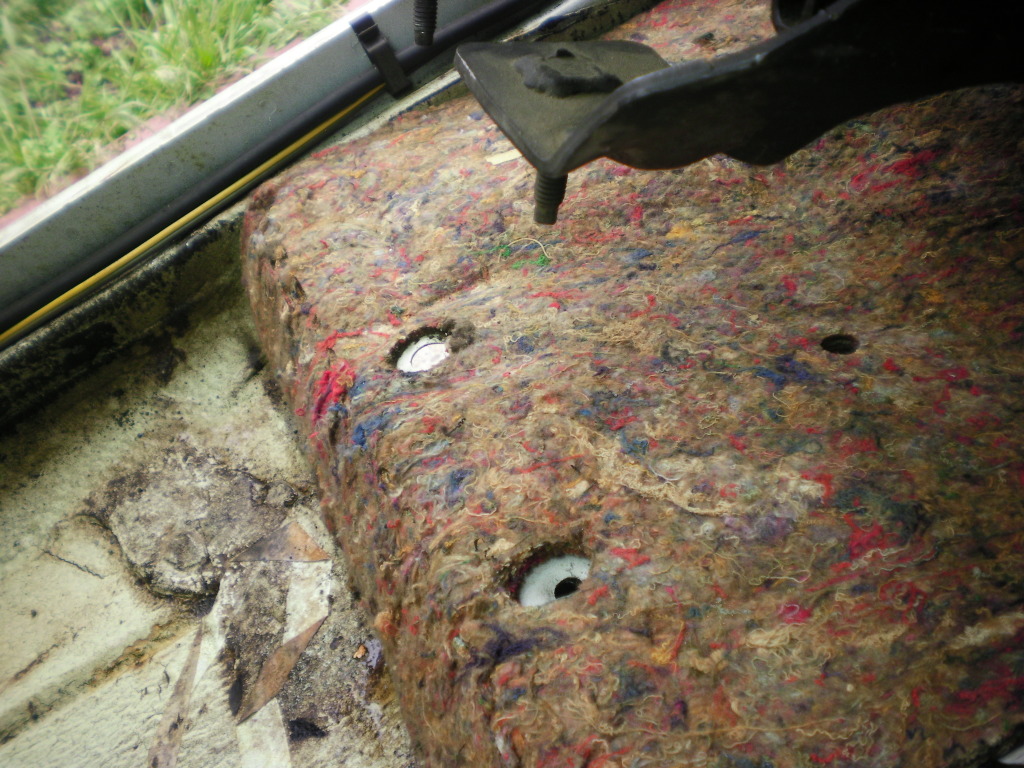
The new hole is closest to the camera, this is the front row of mounting holes...
As you can see the carpet padding makes a perfect stencil, so it's just a matter of lining up the studs on the rails to the holes in the padding, then drilling the dimples. I was originally going to plug the old holes with firewall plugs from the parts store, but for some reason got a wild hair and cut then welded sheet metal over the holes. I didn't weld them up completely, all the caked on gear oil and grease on the underside of the transmission tunnel kept catching on fire XD. After welding I cleaned the area up and spray painted it to keep it from rusting then coated the area from the underside with RTV to keep it water-tight. I would still recommend going with firewall plugs instead, it's much less hassle.
The wiring is very easy, for as long as you grab the donor pigtails. There are no cuts or splices to make. There is a wire that plugs into the PWR OPT slot in the fuse panel, this is hot at all times. Then another set of wires plugs into that lead, and the other ends simply plug into the seats. Make sure you have a good ground for the black wire. I simply crimped an eyelet on it and fastened it to one of the parking brake cable conduit holders on the floor.
The underside of the unibody has special holes in it that will allow you to easily get at the nuts and studs for the seats, whether yours came with power seats or not. This leads me to believe that the bodies (wagons anyway) in bare form were identical no matter what options other than trans type.
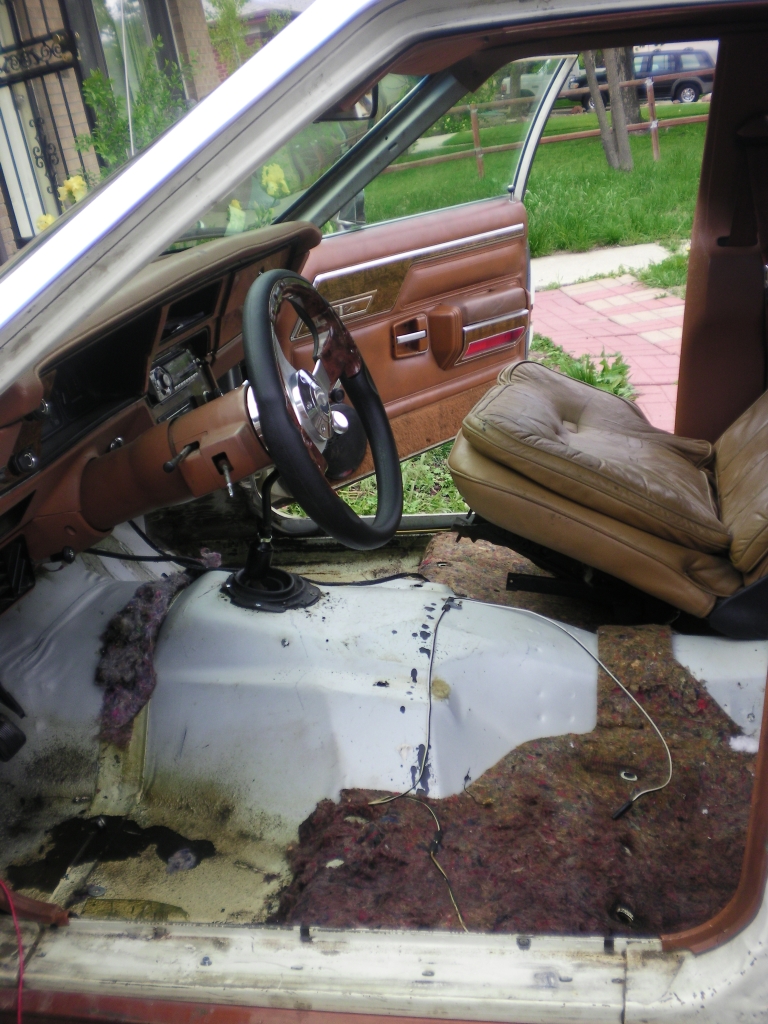
Before:
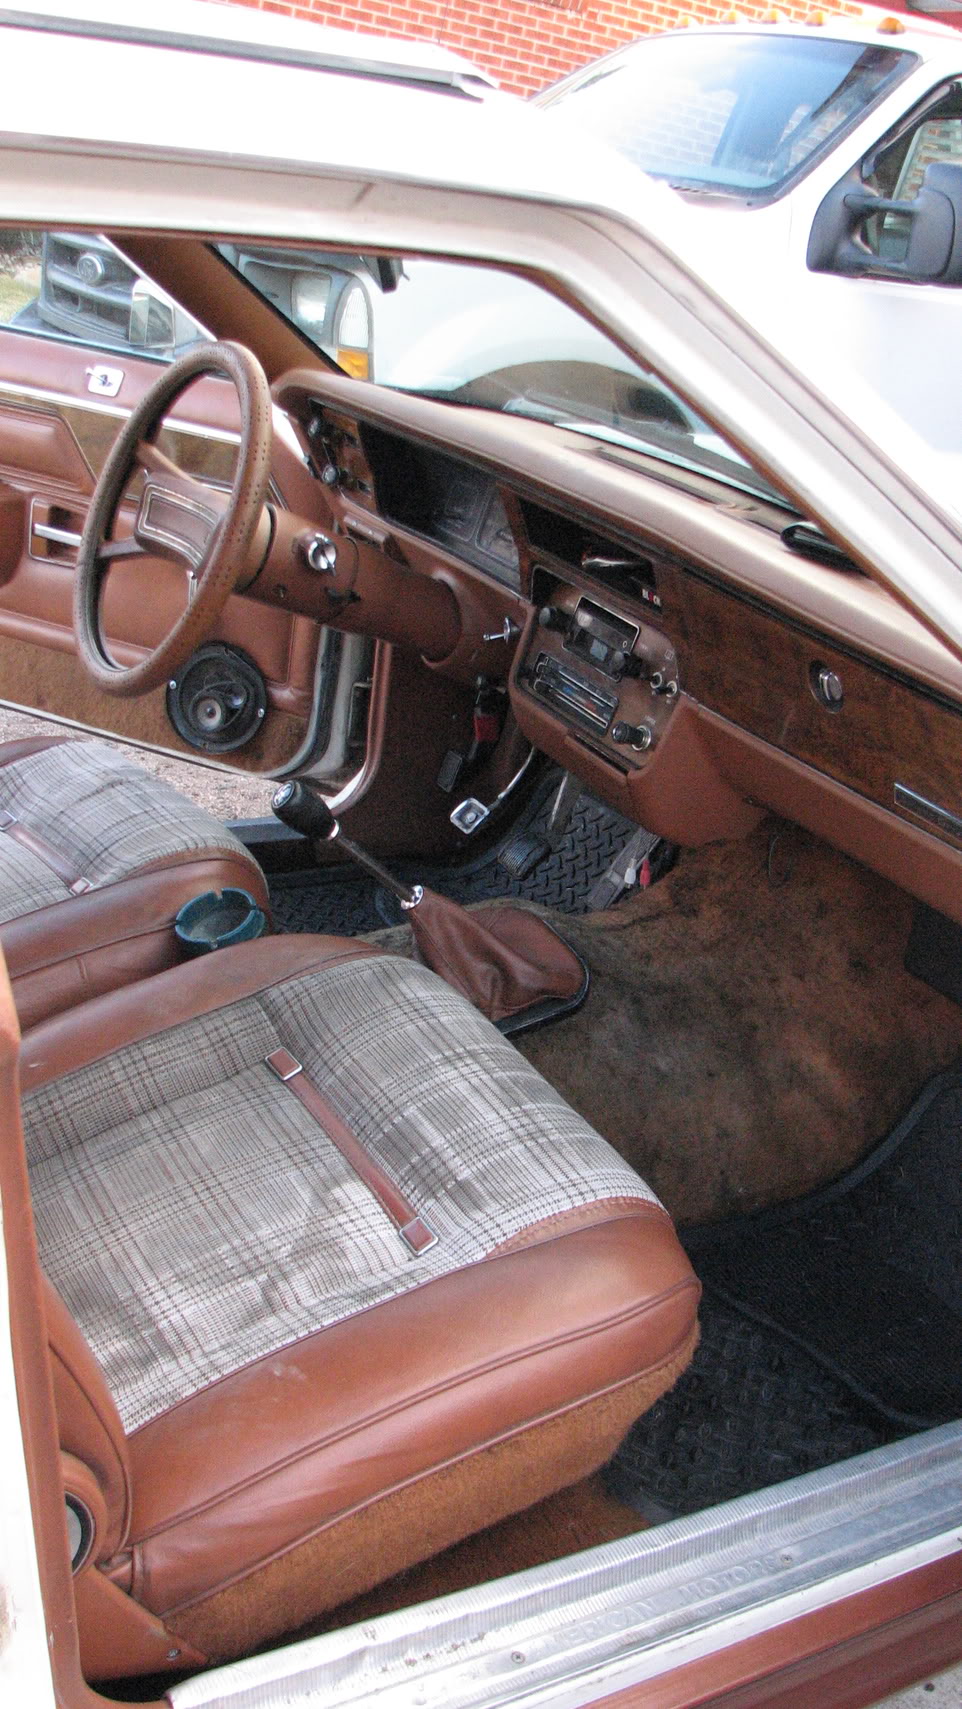
After:
