Aftermarket Power Lock Install
By AMC Eagle Nest member ericarmstrong.
I started by removing the door panel, there is a strip of screws along the bottom of the door panel, remove them, then with a torx bit unscrew the window crank.
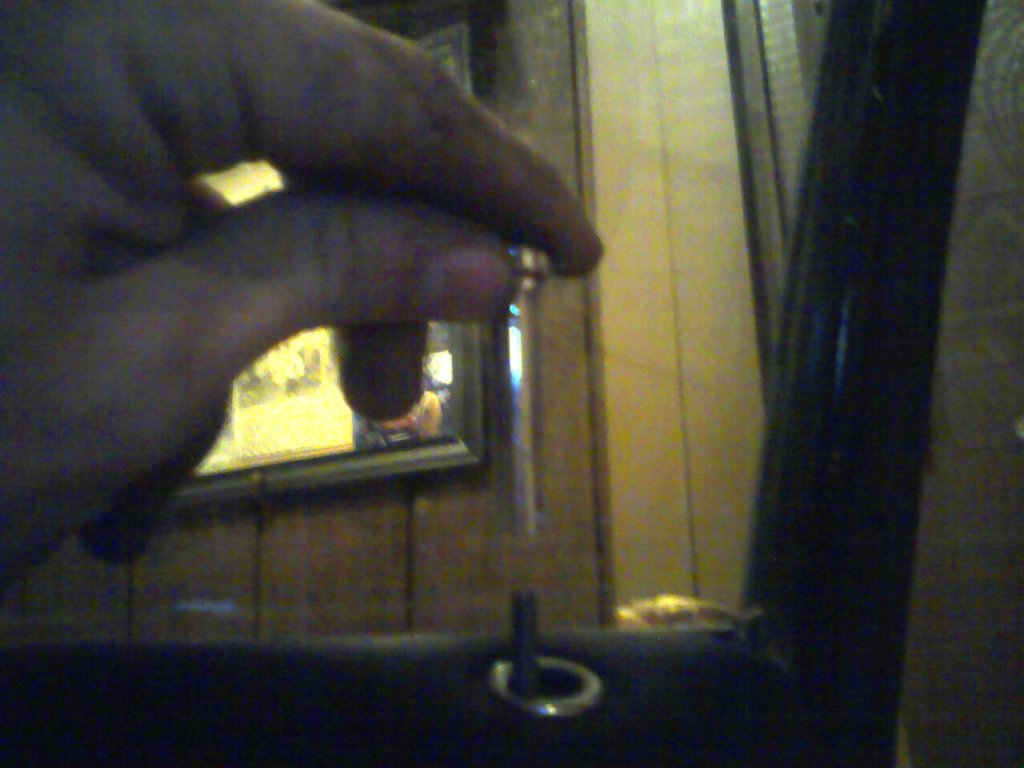
The lock plunger just unscrews.
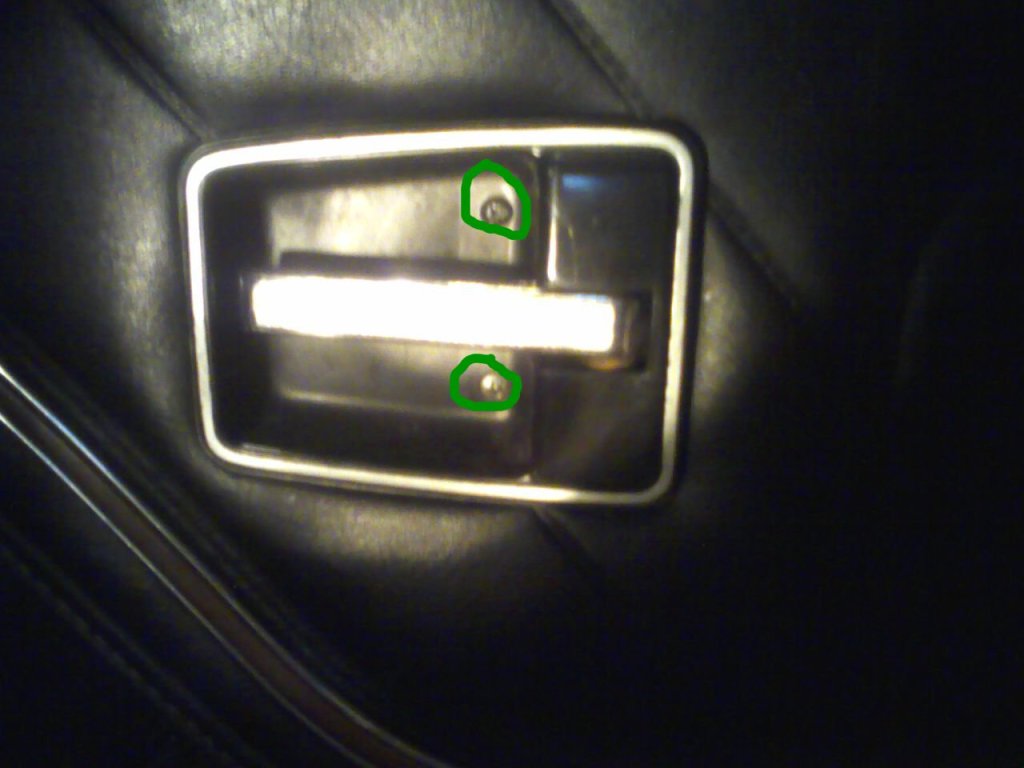
Then, to remove the door handle cup you take out the two screws, pull the rear end out and the front will unclip.
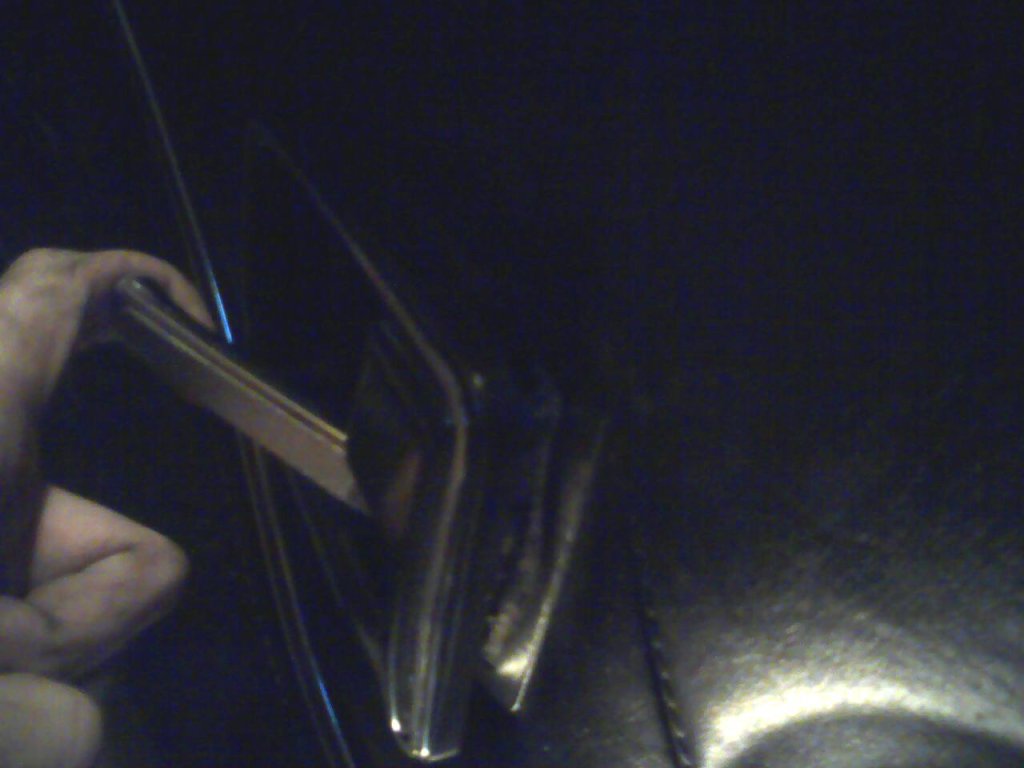
The next step is to pull the clips out, (that run along each side), of the door panel. Just pull back.....
The only other step would be to release a power window remote lever, sorry I was taking the pics on the passenger side. To get the panel off, just lift up and to the rear of the door.
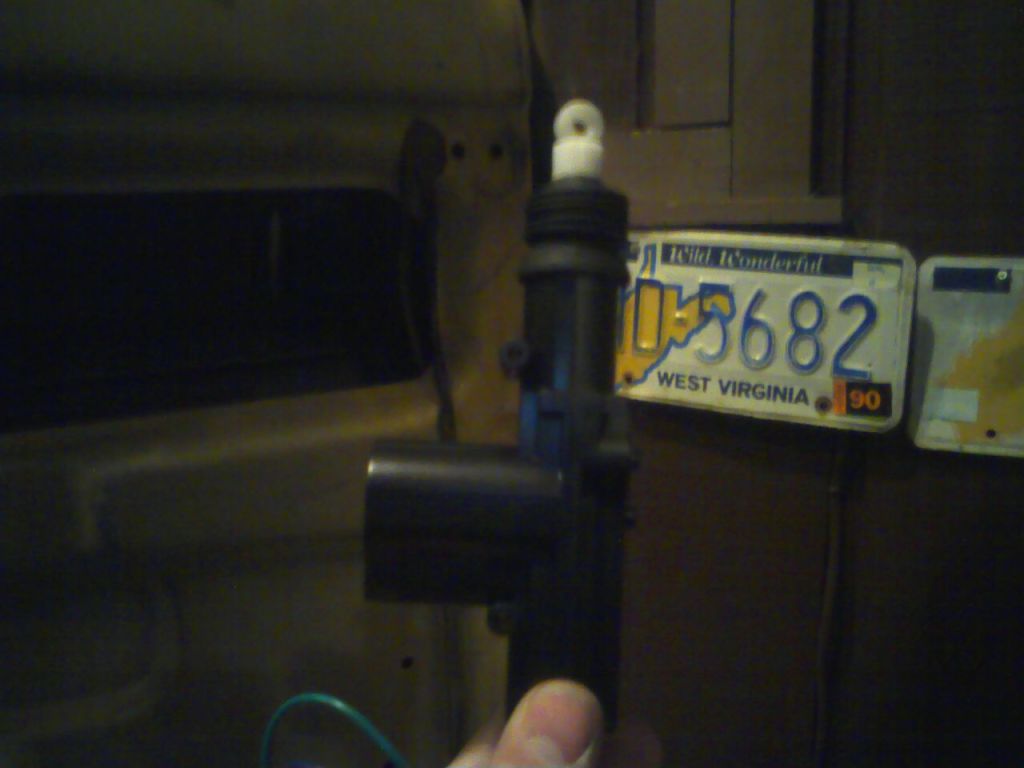
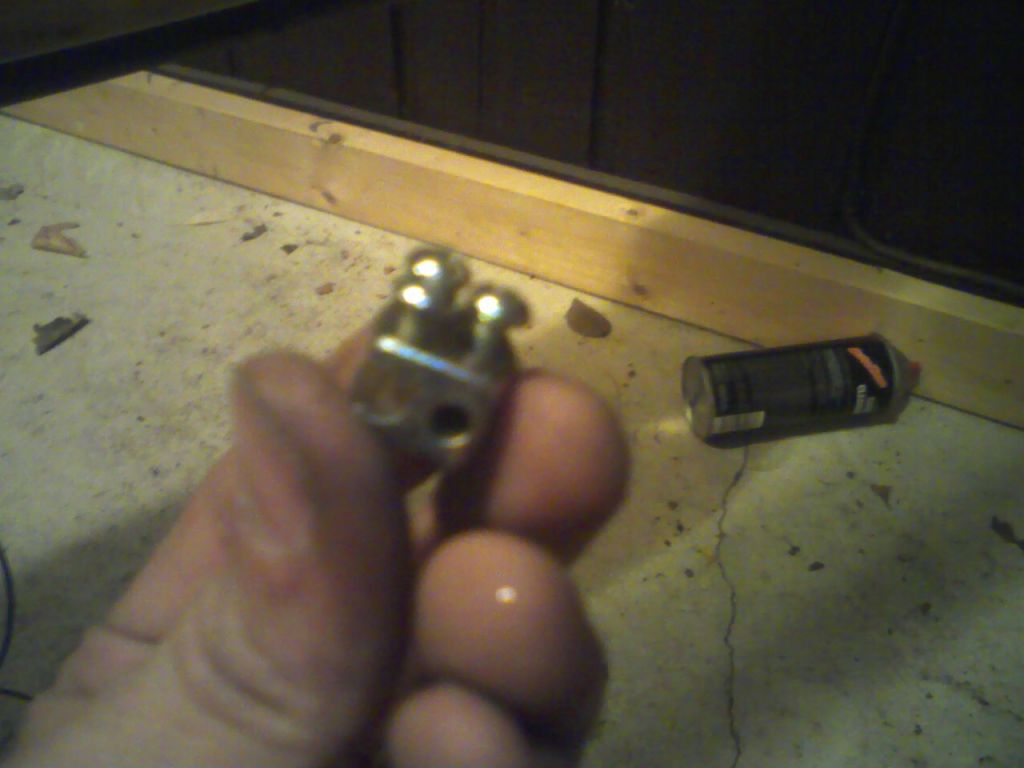
This is the lock actuator that I purchased in a kit with the relays and wiring.
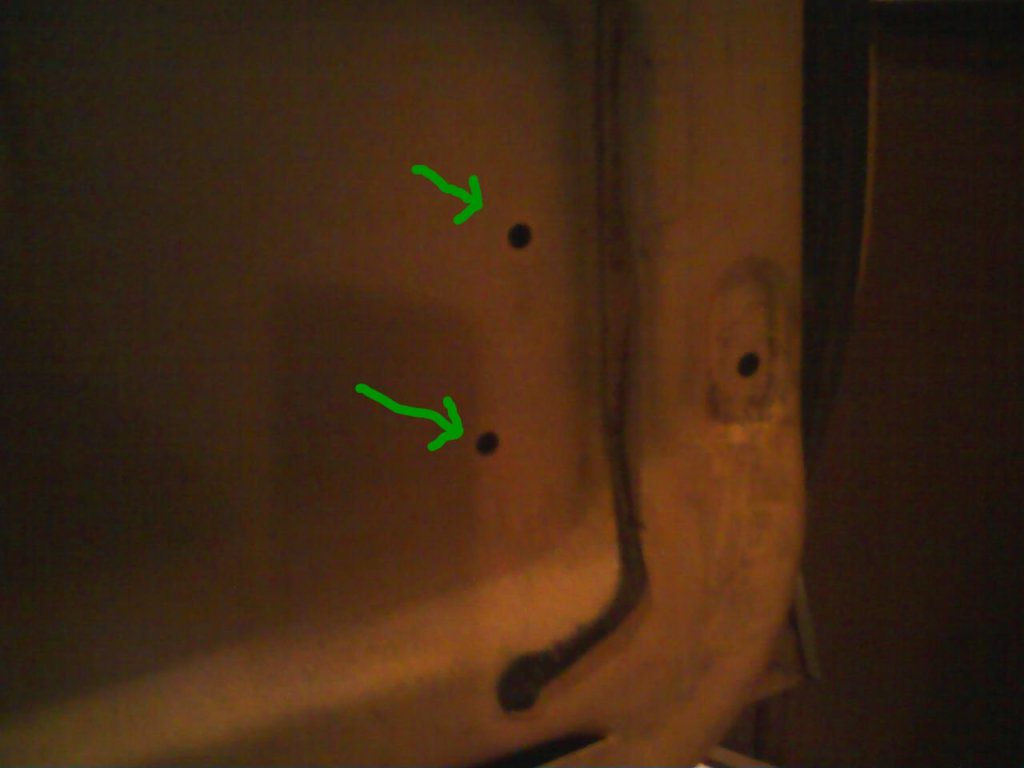
The holes on the actuator that the screws go into line up perfectly with two factory holes in the door. (Factory power lock holes?)
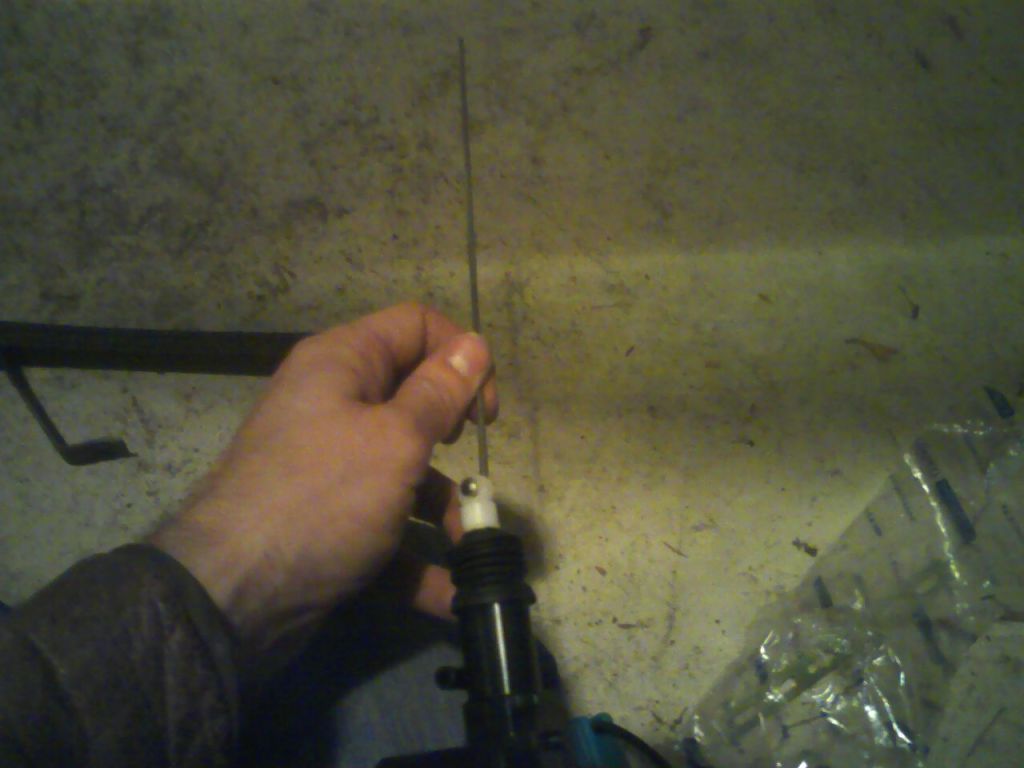
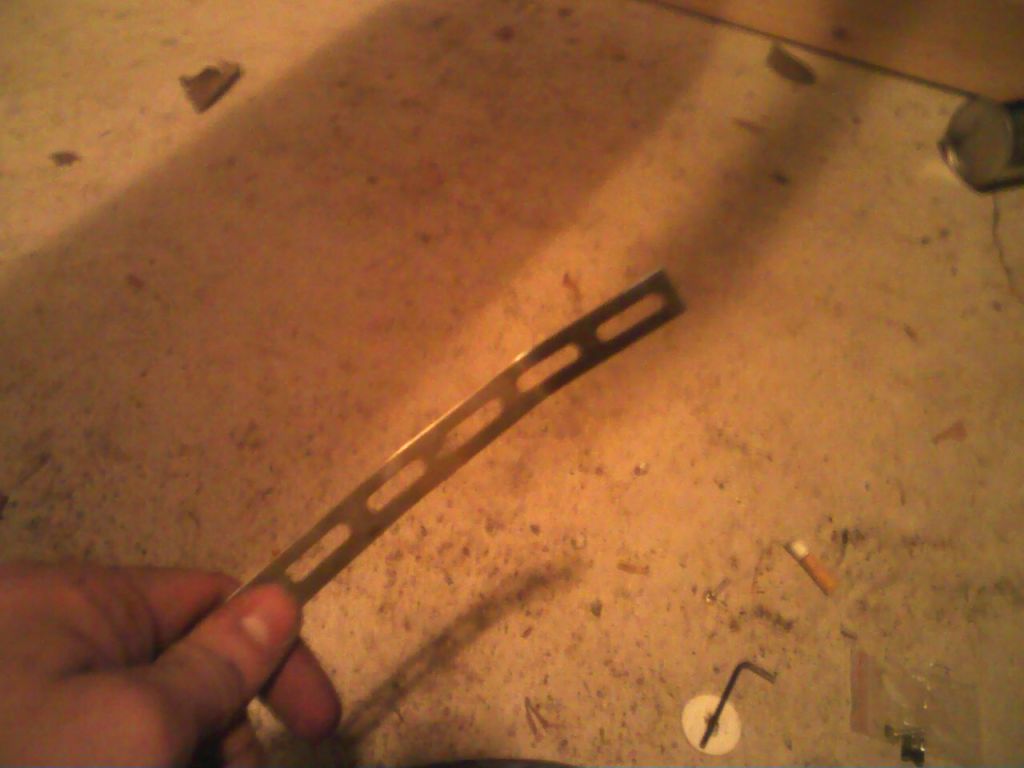
Place the provided rod into the top of the actuator.
Then wire the actuator and lower it into the door.
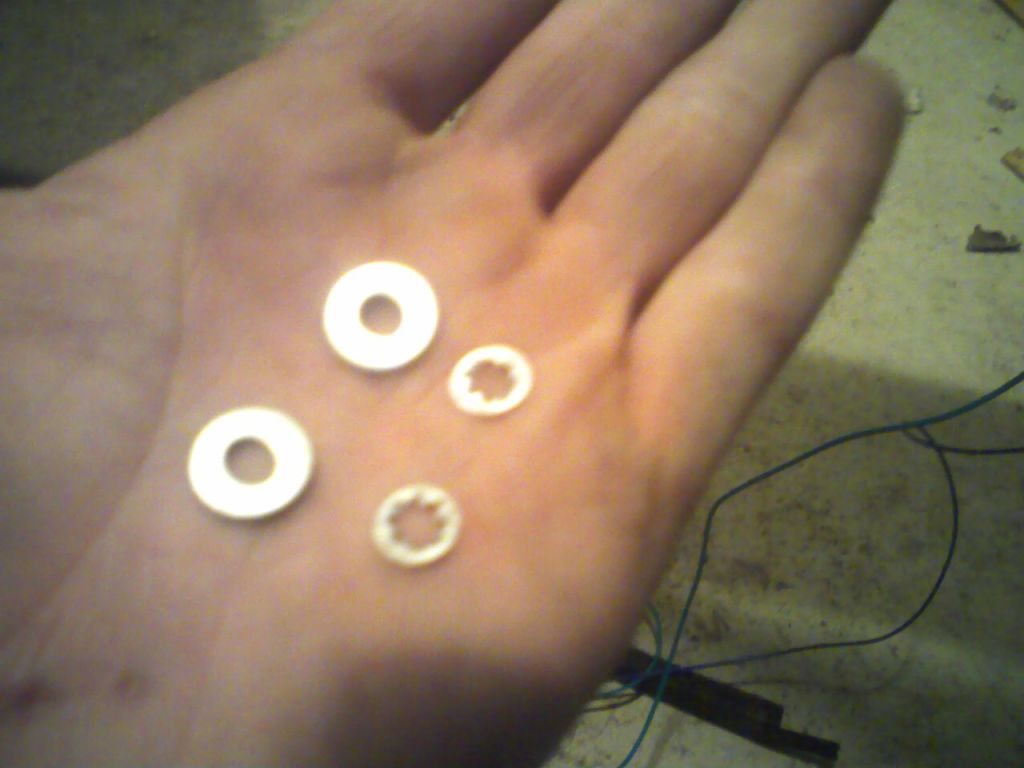
Line up the two holes in the actuator and the door holes, and bolt it in. I used a set of washers and lock rings I had handy, they were not in the kit. Be sure that the wires are not between the actuator and the door when you tighten it down.
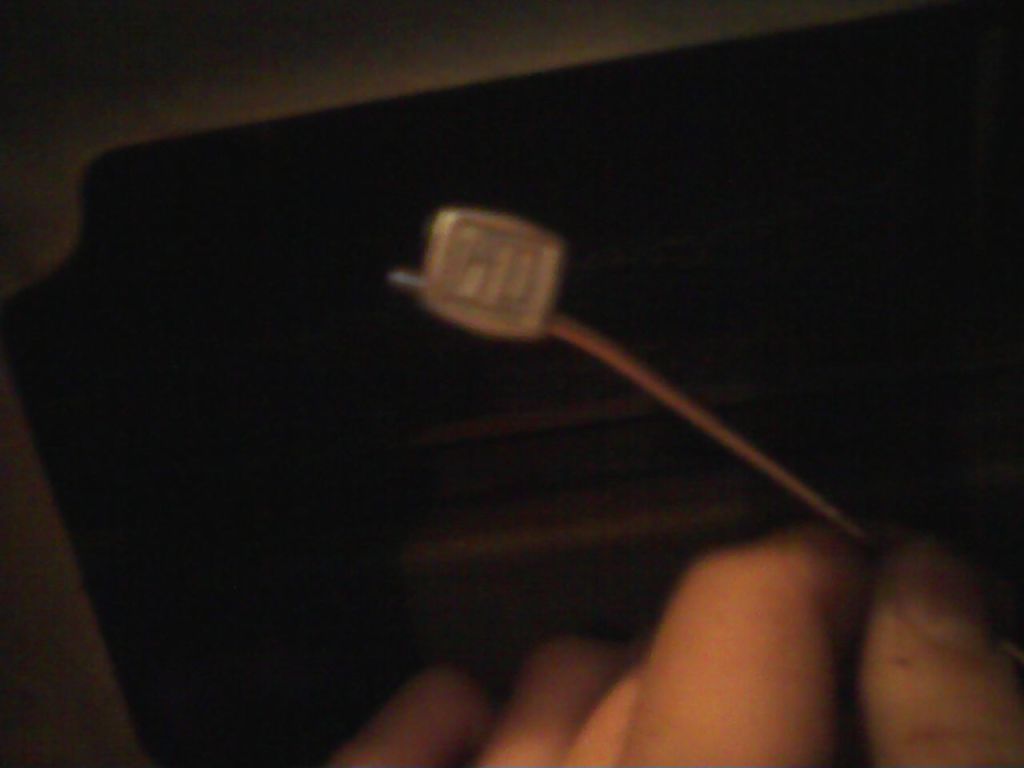
Next, insert the screws that go into the rod clip, and install it on the rod. You'll want it to bolt on so that the when the clip is mounted, the flare at the bottom of the rod is facing you, this allows the rod to pivot in the actuator. My actuators rotate on the ends, so it was fairly easy to spin the rod around for screw access. (Make sure the rod is on the inside side of the interior door handle rod; you'll feel it in there.
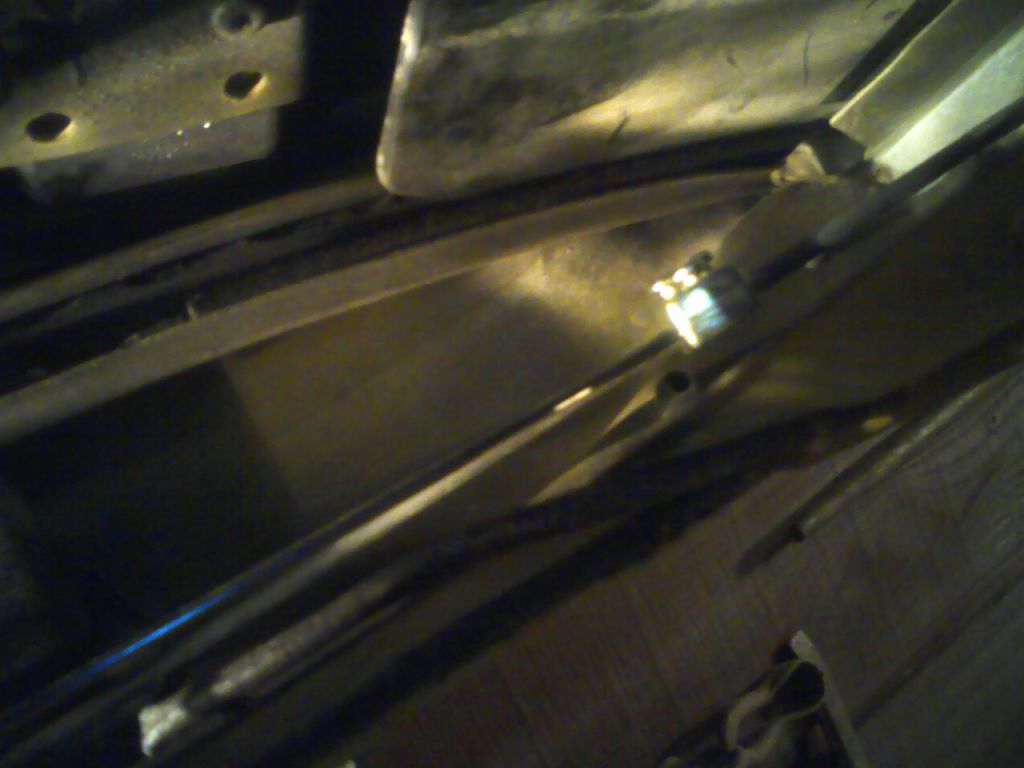
Now you need to bend the end of the rod so that the clip will line up with the lock rod in the door. You kind of have to feel this one out and bend a little at a time.
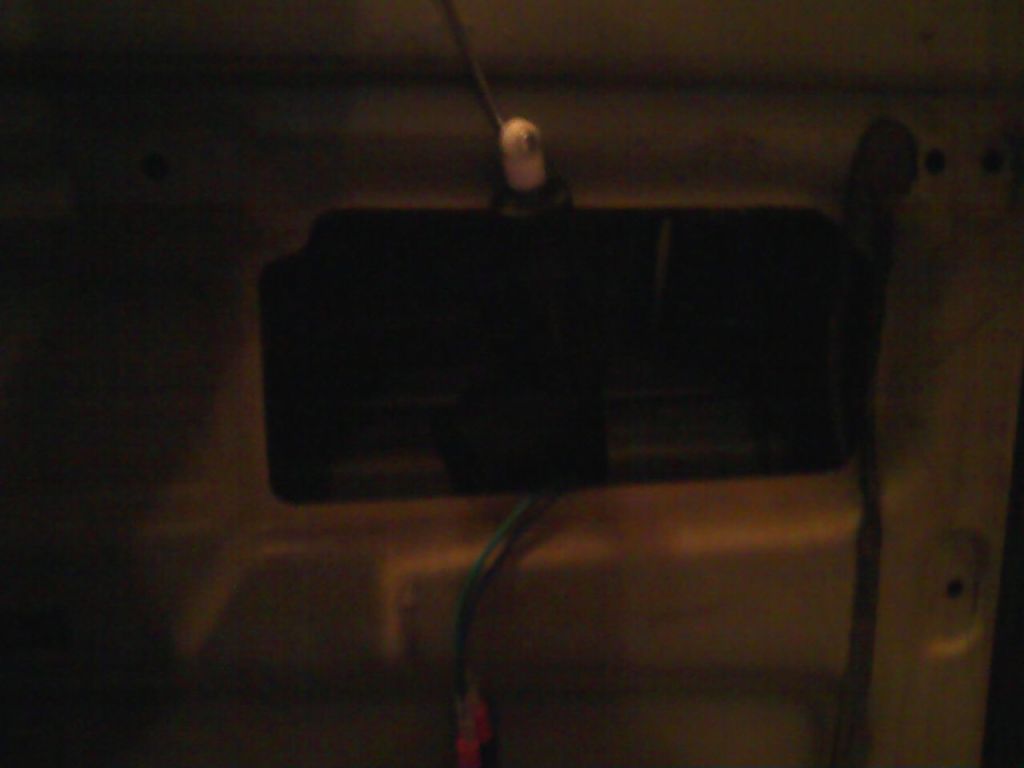
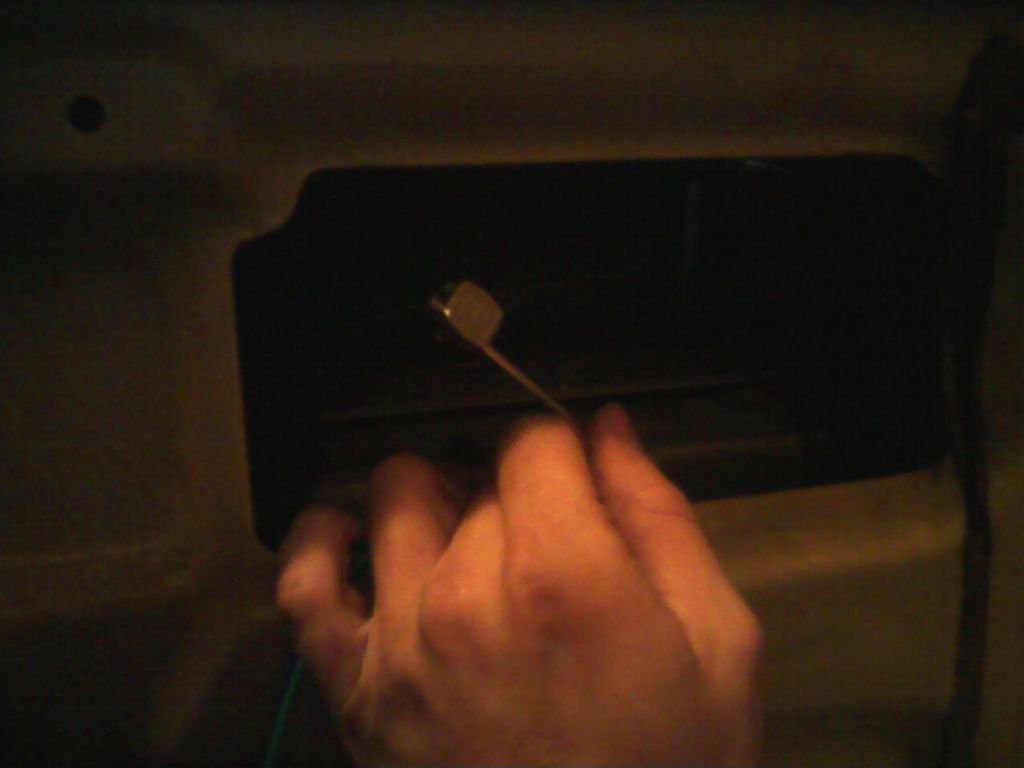
Then you screw the clip down on the lock rod in the door. Make sure the actuator is down all the way and that the lock is locked. Be careful to align the lock rod so that it's in the center of the hole where the plunger screws, this will lessen the chance of binding. It's hard to see in the pic, but that's it....
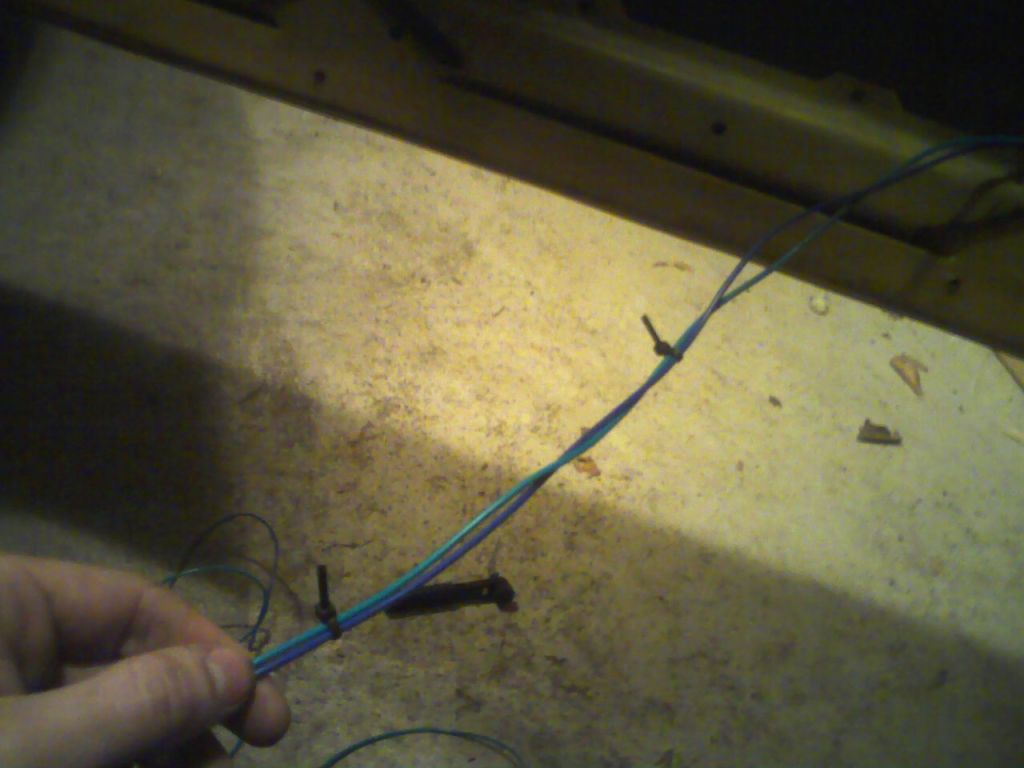
The next step is to zip tie your wires, you don't want them to get caught in any window parts.
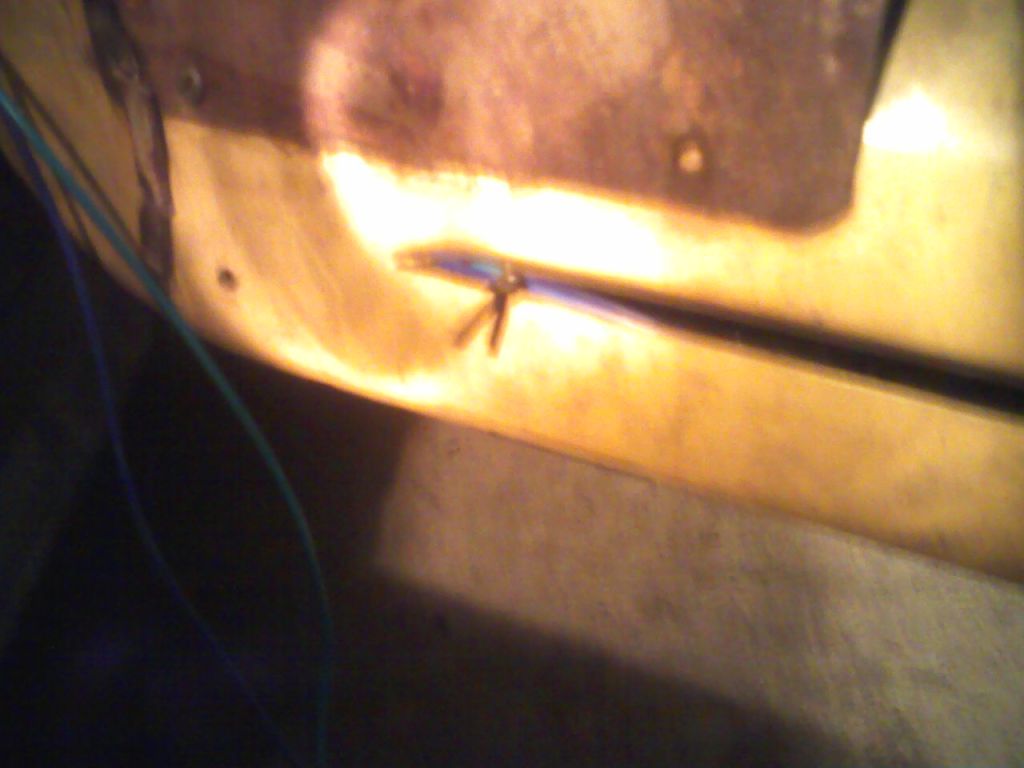
Run the wires along the bottom of the door, away from moving parts, and use a zip tie end to clip it into the slot at the front of the door. That should keep it from getting into anythings way.
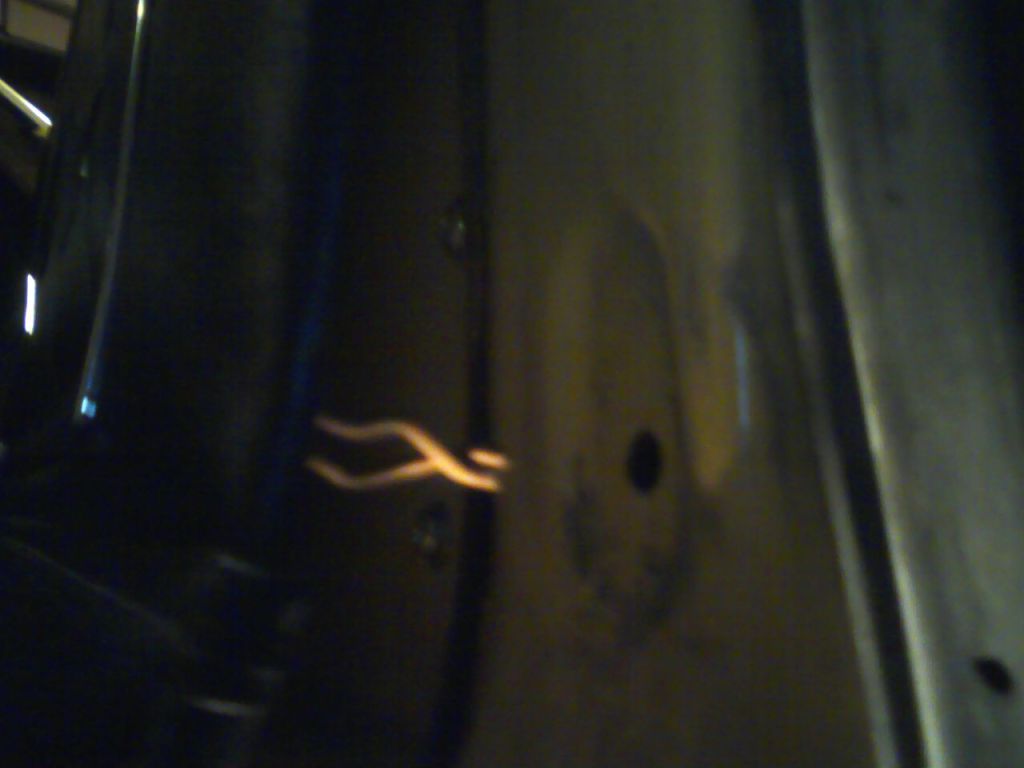
The next step is to pull the ends of the rubber channel that goes from the door to the body, its easy do do, just pull the ends out. Run the wire through the channel and into the body. You'll need to remove the package tray and the driver side kick panel. I used a left over piece from the lock kit to pull the wire through the passenger side and didn't have to remove that panel.
Decide where you want your wires and relays and run the wires accordingly. That's pretty much it!
